Adding a sturdy boundary to your property is one of the best investments you can make for privacy. A properly constructed concrete block wall offers unmatched durability against our harsh Arizona elements. If you are ready to tackle this project, we have the step-by-step guide you need to succeed.
Why Block Walls Rule in Maricopa County
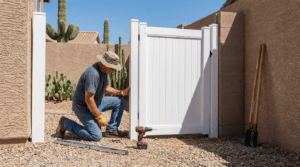
You know what? There is a reason you see block walls everywhere in the Phoenix Metro area. Unlike Wood Fences that rot or warp under the relentless sun, or vinyl that can become brittle, masonry is built to last.
Here’s the thing: in Arizona, a wall isn’t just a boundary line; it’s a sound barrier, a windbreak against monsoon dust storms, and a critical component of home security. While the initial effort to build one is higher than slapping up some dog-eared cedar pickets, the return on investment is generational. A well-built block wall will likely outlive the house it protects.
Phase 1: Planning and Paperwork
Before you pick up a shovel, you need to pick up a pen. Building a masonry wall is a permanent change to your property, and local authorities treat it as such.
Check Your Local Codes
Honestly, nothing is worse than building a beautiful wall just to have the city tell you to tear it down because it is six inches too tall. In Maricopa County, regulations can vary slightly between cities like Scottsdale, Mesa, and Phoenix. generally, backyard walls can be up to 6 feet high, while front yard walls are often restricted to 3 feet to maintain sightlines for traffic.
- HOA Rules: If you live in an HOA, they likely have strict guidelines on color, height, and texture (stucco vs. slump block).
- Property Lines: Do not guess. Locate your property pins. If you build over the line, your neighbor legally owns that chunk of the wall—or can force you to move it.
Call Before You Dig
This is non-negotiable. You must call Arizona 811 (Blue Stake) at least two full working days before you start digging. They will mark underground utility lines for free. Striking a gas line or fiber optic cable is dangerous and incredibly expensive.
Phase 2: Tools and Materials
You cannot do this job with just a hammer and good intentions. Masonry requires specific tools. Here is what you will need to gather:
The Essentials:
- Masonry Trowel: For applying mortar.
- Wheelbarrow or Cement Mixer: You do not want to mix by hand in a bucket.
- Level (4-foot and 2-foot): Precision is everything.
- String Line and Stakes: To keep the wall straight.
- Jointing Tool: To smooth the mortar joints.
- Hammer and Masonry Chisel: For cutting blocks (or a masonry saw for cleaner cuts).
- Shovel and Pickaxe: For the footing trench.
The Materials:
| Material | Purpose | Note for AZ Climate |
|---|---|---|
| CMU Blocks | Standard 8x8x16 inch hollow blocks. | Calculate square footage x 1.125 to estimate block count. |
| Mortar Mix | Type S Mortar. | Type S is stronger and better suited for exterior walls than Type N. |
| Concrete Mix | For the footing. | Needs to be strong enough to support the weight of the wall. |
| Rebar (#4) | Steel reinforcement bars. | Crucial for vertical stability during high winds/monsoons. |
Phase 3: Digging the Footing
Let me explain why this is the most critical step. A heavy block wall is only as good as the ground it sits on. If your footing shifts, cracks, or sinks, your wall will fail.
- Layout: Mark the perimeter of the wall using your stakes and string line.
- Excavation: Dig a trench. For a standard block wall, you generally need a trench that is twice the width of the block (about 16 inches wide) and roughly 12 to 18 inches deep.
- Level the Bottom: The bottom of the trench must be flat and compacted solid. Loose dirt leads to settling.
Pouring the Concrete
Once the trench is dug, place horizontal rebar in the trench, elevating it slightly off the dirt using “dobies” (small concrete blocks). Pour your concrete mix into the trench, filling it to the desired depth (usually 8-12 inches).
Pro Tip: While the concrete is wet, insert vertical rebar stakes at regular intervals (usually every 4 feet) so they stick up vertically. These will thread through the hollow cores of your blocks later.
Phase 4: Laying the First Course
You know the old saying, “don’t build on a shaky foundation”? Well, the first row of blocks (the first course) sets the tone for the entire project.
- Dry Fit: Before mixing mortar, lay out the first row of blocks dry to ensure your spacing works. Leave a 3/8-inch gap between blocks for the mortar joint.
- The Bed Joint: Remove the dry blocks. Spread a 1-inch layer of mortar (the bed joint) on the footing for the corner block.
- Set the Cornerstone: Place your corner block first. Level it front-to-back, side-to-side, and diagonally.
- Run a String Line: Attach a mason’s line to your corner blocks to guide the height and straightness of the first row.
- Fill the Row: Butter the ends of the blocks (head joints) and press them into place along the string line.
Important: Do not rush this. If this row isn’t perfectly level, your wall will look wavy and unstable by the time you reach the fifth row.
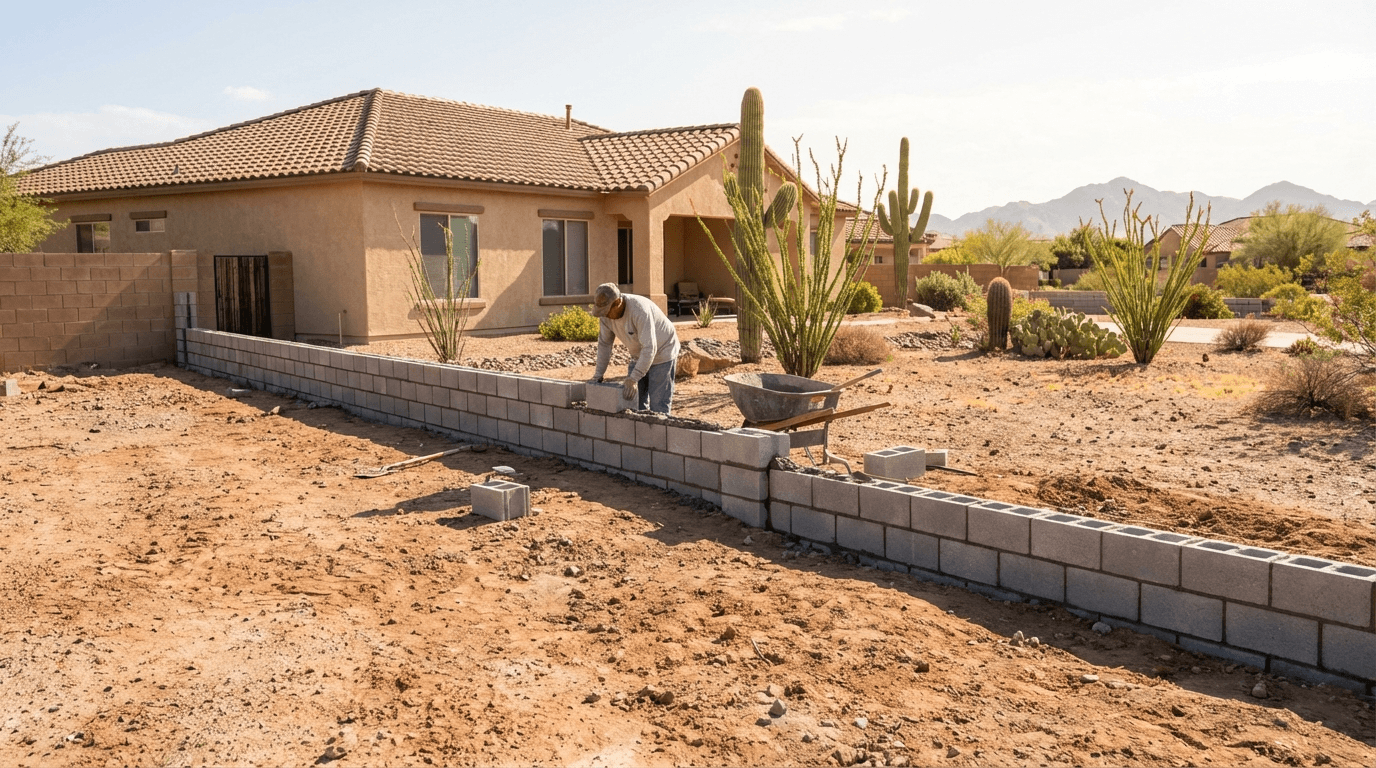
Phase 5: Building Up
Now comes the rhythm of masonry. You will want to stagger the blocks so the vertical joints of one row sit directly in the middle of the block beneath it. This is called a “running bond” pattern and it provides structural integrity.
The Technique
Let’s talk about “buttering.” You aren’t icing a cake; you are creating a structural bond. Apply mortar to the outer edges of the block shells (face shell bedding). You generally do not need to mortar the cross webs unless the engineering plans specify it.
As you stack, lift the blocks over the vertical rebar you placed earlier. Every few feet of height, you should stop to pour “grout” (a thinner concrete mix) into the hollow cells that contain rebar. This locks the steel and concrete together into a solid column.
Dealing with Arizona Heat
Here is something specific to our area: The Maricopa County sun sucks moisture out of mortar incredibly fast.
- Hydration: If the mortar dries too quickly, it becomes brittle and weak. You may need to mist the blocks slightly before applying mortar if it is 100°F+ outside.
- Time Management: Only mix as much mortar as you can use in 45 minutes. Once it starts to stiffen, do not add water to “retemper” it; just throw it out.
Phase 6: Finishing Touches
Once you reach your desired height, you can’t just leave the top open. Rain (yes, we do get it!) will fill the hollow blocks and eventually cause damage.
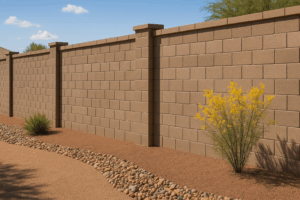
- Cap Blocks: These are solid, flat blocks mortar onto the top course to seal the wall.
- Stucco: In Arizona, the raw industrial look is fine for alleys, but most homeowners prefer a stucco finish painted to match the home.
- Clean Up: While the mortar is “thumbprint hard,” use your jointing tool to smooth out the joints between blocks for a professional look. Brush away excess crumbs with a stiff bristle brush.
The Reality Check: DIY vs. Hiring a Pro
Honestly, building a block wall is satisfying, but it is also backbreaking labor. A single standard block weighs about 30-35 pounds. A 50-foot wall, six feet high, requires roughly 450 blocks. That is nearly 16,000 pounds of concrete you have to lift, level, and align—not including the thousands of pounds of wet mortar and concrete footing.
Ask yourself these questions:
- Do I have the physical stamina to lift heavy weights in the heat for several days?
- Do I have the patience to level every single block perfectly?
- Do I have a way to dispose of the excavated dirt?
If you answered “no” to any of those, it might be time to call in the cavalry.
Why Trust Arizona Fence & Gate?
We have been navigating Maricopa County soil conditions and building codes for years. We understand that a wall isn’t just about stacking blocks; it’s about drainage, reinforcement, and aesthetic precision.
When you hire a professional team, you aren’t just paying for labor. You are paying for:
- Speed: What takes a DIYer three weekends takes us a couple of days.
- Structural Integrity: No leaning walls or cracking footings.
- Aesthetic Quality: Perfectly straight lines and smooth stucco finishes.
Building a concrete block wall changes the dynamic of your home. It provides a safe play area for kids, a secure run for pets, and the privacy you deserve. Whether you decide to mix the mortar yourself or hand the heavy lifting over to us, we hope this guide helps you visualize the process.
Ready to get started on your project without the backache?
Call Arizona Fence & Gate today at 480-618-7925 or visit our website to [Request a Free Quote]. Let’s build something that lasts.